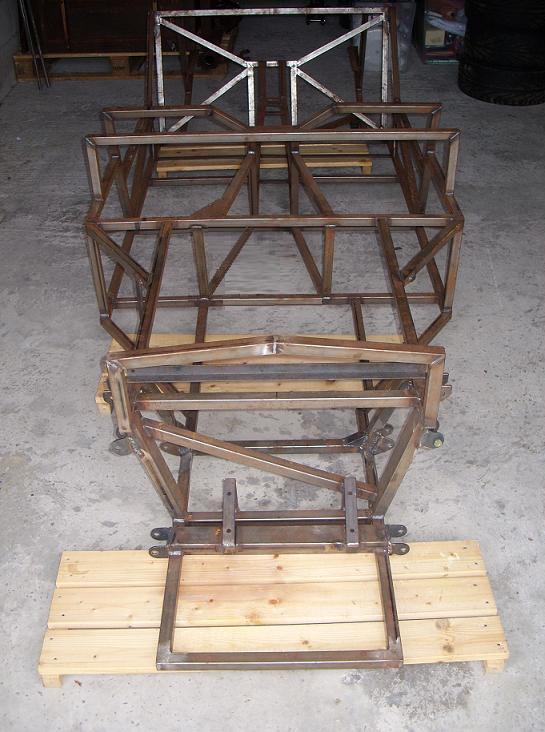
A bit of catching up to do... I picked the chassis up from the very amiable Dave Gallop some three weeks ago. I'm really pleased with the work that they've done. The combination of a beautifully welded and arrow-straight chassis from Autotune and the revised geometry is quite exciting!
Once I got the car to the garage I started to worry a little bit about the engine; or rather if the engine would fit. Unlike on a Seven-ish, Striker or Fury the car stays the width of the rear bulkhead until the end of the footwells. The chassis then tapers quite severely to form a rectangular engine bay. Because bike engines effectively have the gearbox and clutch pack bolted to the side of the motor, the whole unit needs to be offset to the passenger side in order to run a propshaft off the output shaft. My concern was that I wouldn't be able to offset the engine by enough to get a straight or even near-straight run for the prop.

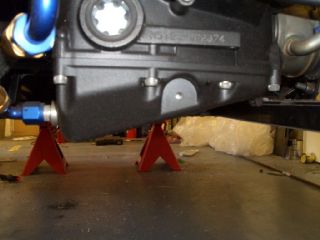
My solution was to borrow a 5VY R1 engine (my chosen powerplant) from my mate Ed. I lay the chassis on what used to be Ikea shelves and dropped (not literally Ed) the engine into the engine bay onto an identical shelf. This effectively represented the flat floor. Initially, things didn't look great. With the engine shunted against the footwells it was debatable whether or not the propshaft would interfere with the tube at the front of the tunnel. Of equal concern was the high angle that the universal joint would need to run at the centre bearing. Not great.
However, having stared at it for a short while and having taken some photographs for reference, I decided to shunt the engine forward in the engine bay. This had the effect of reducing the angle on the prop to something that, intuitively at least, looked a bit more sensible. The picture below shows the engine at 85mm forward of the bulkhead.
Once I got home, I did some web-based research into prop phasing and angles and also posted a question on
Locostbuilders to see what the general thinking was. The other consideration that also comes into all of this is the angle that the engine is mounted at, that is, the degree to which it is canted-over. There seems to be two schools of thought on this. Fisher and Dan B advocate mounting the engine so that the sump flange is parallel to the ground, as seen here (from
Dan's site.)
I gather that Andy Bates also favours this approach. However, MNR mount the engine so that the bottom of the sump is parallel to the road as in the bike. What concerns me about the former method is that the oil pickup is halfway along the bottom of the sump and is therefore not at the lowest point. Both Dan and Andy Bates (for Ed's Phoenix) have used an extended sump to solve the issue. However, I was never convinced that all this was necessary. I then met a local chap who runs a Caterham with a supercharged 5VY engine. Winston has run this car competitively for several years on slicks with the sump bottom parallel to the road; with no issues. His only mod is a dressed version of the "Nitram" sump baffle that everyone seems to use. As I understand it, his son holds a number of course records in the car too. What was also apparent is that he knows the motor back-to-front and inside-out. Hence, if its good enough for Winston, its good enough for me. This is good news as if the engine was mounted in the more upright position it would be more likely that the sump would need to protrude below the floor. Having just spent a serious amount of cash getting the pick-up points moved to run with the floor at close to 75mm, needing to run the chassis higher to accommodate the sump would have been pretty joyless news. Also, in the more upright position it is very difficult to see how the exhaust primaries would route - in fact they'd more or less come out of the head and want to go straight into a chassis tube!
Aside from resolving the prop angle issue, moving the engine forward has some other positive and negative impacts. On the negative side, it moves weight towards the front of the car and therefore affects the weight distribution of the car and increases the polar moment. The convention with bike-engined cars seems to be to move the engine in the other direction. However I suspect that it is possible that moving the weight forward a little might actually aid front-end grip and also steering feel - which is generally relatively absent in a BEC. The other positives from a 'packaging' perspective are that it gives me room to mount the starter motor for the reverse and also means that the exhaust primaries can be a little longer. The overall consequence is that I'm not all that bothered about it, particularly when I can move my short-arse 90kgs self back in the car by mounting the pedal box further back. What I will probably do is modify the very large footwell slightly (as shown in the Microsoft Paint-modified pic below) to give everything a bit more room. The webbed portion at the top of the footwell should even provide a suitable place to mount the fulcrum/pivot for the rod-operated gear change.
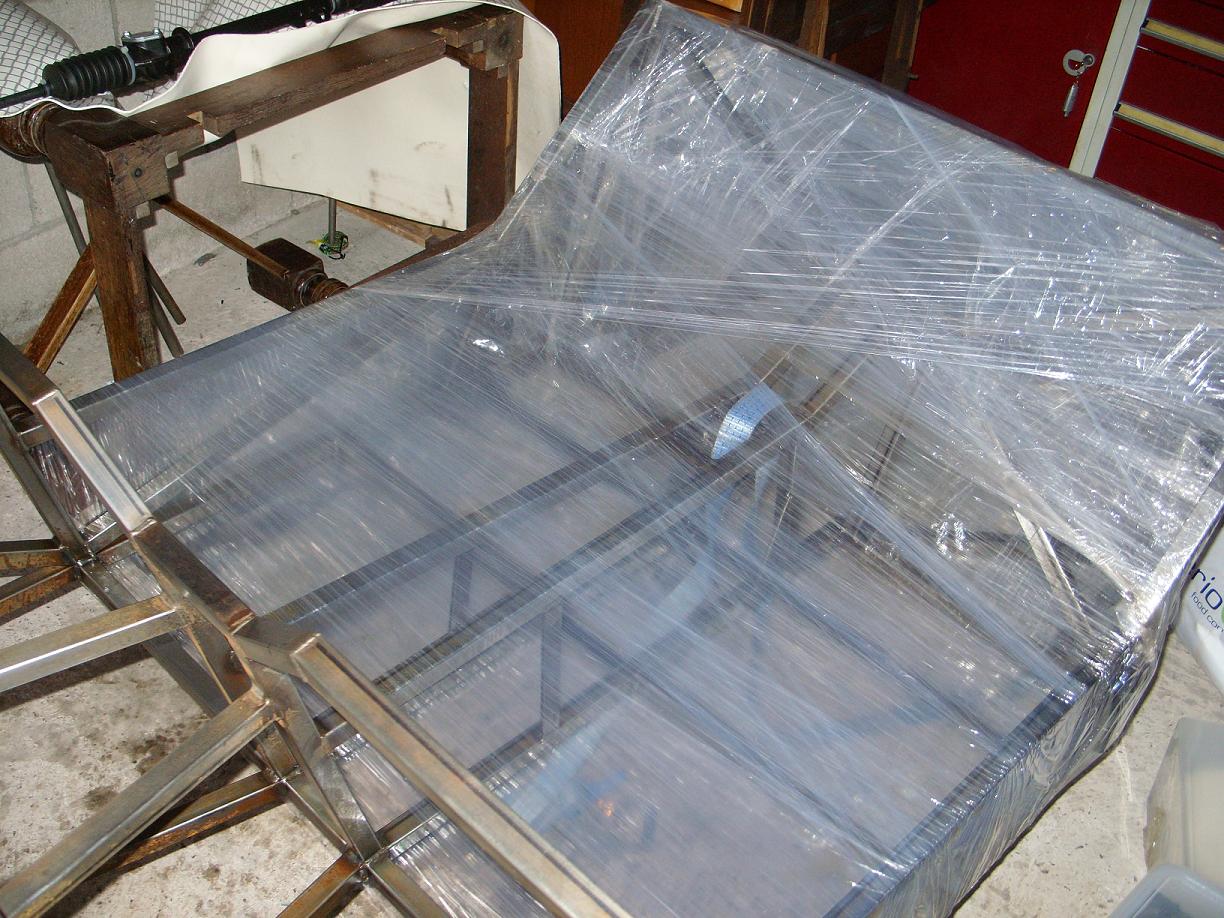
All of this will of course have to wait for my return from travelling (plus subsequently finding a job and somewhere to live!) With the departure date ever-closer, attention has turned to storing the chassis while I'm away. When I collected the chassis originally, it had been stored for a year in a timber garage. This meant that it was virtually free of oxidation, except for a few finger prints. It hasn't fared quite so well since it has been at Track Developments and in my tin-roofed garage so I'd planned to give the metal a bit of a 'polish' with some wet'n'dry and a wire brush. Stage Two is then to give everything a damn-good coating of oil before wrapping it all in stretch-wrap.
I'm about halfway through and am really pleased with how its gone. It's quite time consuming and I've exhausted my supplies of contour sanding blocks and a can of spray oil but tomorrow should see the job finished.
The last job will then be to suspend the chassis from the garage roof. That could be quite exciting.