Monday, 12 October 2015

Sunday, 16 August 2015

Prize-winning marrow

Andy Westgate has been busy "putting a marrow on the bonnet."
He's also identified that due to the lowered ride height, there isn't any room for the headlamp bowls.  

Thankfully we have a plan.

TC

Sunday, 9 August 2015

Glass Re-reinforced Plastic

A whole two months-on from my last post: I've done absolutely nothing.  This doesn't mean that the car isn't progressing however.  I'd reached the conclusion that I was going to really struggle to fit the bodywork.  I was concerned about a lack of space, a lack of time and most-of-all a lack of ability and knowledge when it comes to fibreglass.  I'd spoken to a couple of Gemini owners who each said that they'd had to make some modifications to get everything to fit.  I was out of my depth.

I spoke to a couple of people who might be able to do the work for me and ultimately decided that Andy Westgate at Westgate Composites was my best-bet.  I have no doubts that I made the right choice.  Andy's work and communication has been absolutely first-class.  There is still quite a lot of work to do but he is definitely getting there.

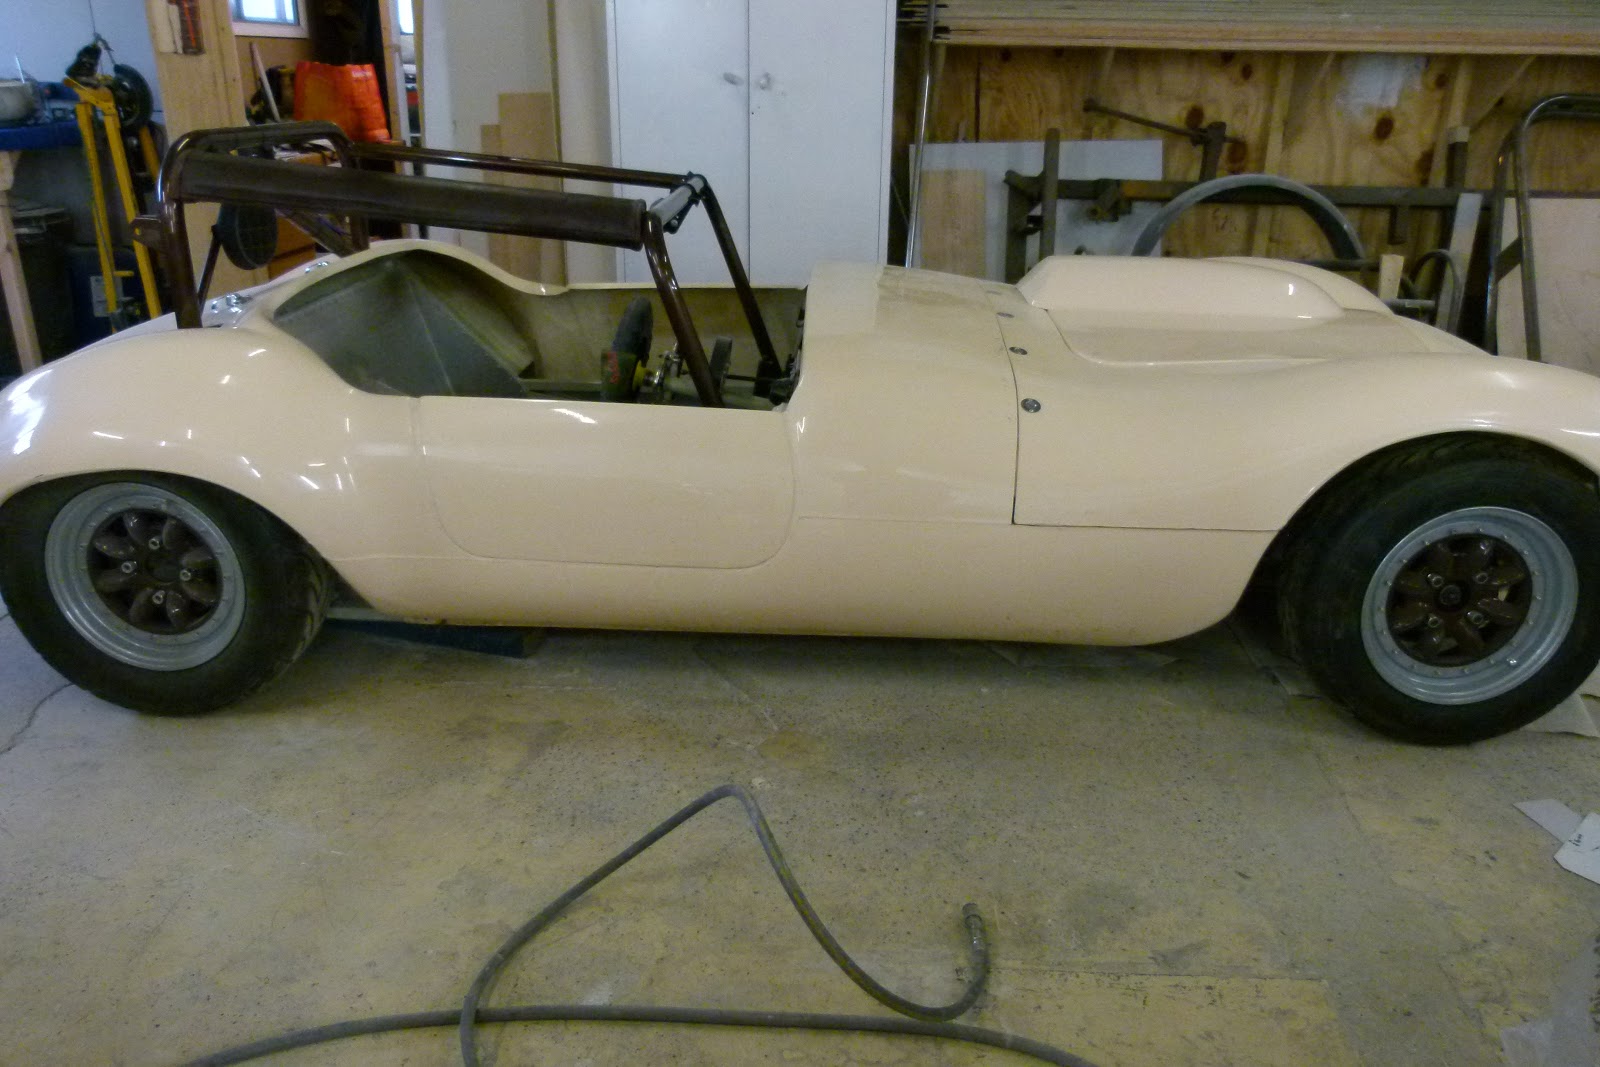
Andy started by seeing how everything lines-up,
The wheels provide the best reference points in each plane - the bodywork is certainly not 100% symmetrical.


Of course I'd say this, but the colour scheme just works.
You'll notice that the bonnet needs a bulge.  It actually needed a lot more work,  It was too wide (a common Gemini issue apparently) and concave (probably due to my storage.)
This is seemingly bread-and-butter for Andy though.  He's so accomplished working with GRP.  Both to help the body fit, attach it to the chassis and also to reduce the amount of subsequent aluminium panelling required, Andy has made a number of improved bulkhead panels.


These panels aren't finished at this stage, but it is remarkable how well Andy has got things to fit. You can see that the area behind where my shoulder will be has been cut-back quite significantly. There is still some to come - despite being vertically-challenged I've built the car so that I sit as far back as possible to hopefully help balance and grip.


The latest images from Andy show the basic shape of the new bonnet bulge - he's going to glass that in this week before ultimately painting the bonnet to match the gelcoat.  I'm absolutely thrilled with all the work thus far and I'm so relieved that I haven't tried to do it myself.  I think I would have lost patience and set the whole lot on fire by now.

I can't wait to see the car with the roll cage fitted - I've seen the car clothed and I've seen the car caged - but never caged and clothed.

TTFN
TC

Saturday, 6 June 2015

Getting RC

Where would the car builder be without EBay? I can't imagine what a pain it must've been in the "good ol' days" to obtain random parts; no wonder kit car shows used to be so numerous and busy.

My latest online-find is a track rod-end for a radio-controlled car. In my case, alongside some rod-ends, it serves as a stay for my throttle-cable mount.
Of course, it doesn't need to be adjustable or indeed made with spherical bearings. The parts are quite convenient however.

And so, I've just wandered into the house  having finished adjusting the throttle cable. It all seems to work, albeit it is rather closer to the end of its adjustment than I would have ideally liked.

TC


Wednesday, 27 May 2015

Throttle enable cable fable...

My throttle cable assembly is one part of the car that has been in the design phase for literally years. At last I've been able to piece together the critical parts.

The generic cable from Venhill uses the welded-on nipple fitting in the standard throttle roller fitting. The cable then travels through the recycled Yamaha bolt-in ferule before travelling through the Venhill outer until it reaches the threaded cable adjuster which is mounted in a fabricated stand-off tower using a nice grommet from CBS to seal it off while allowing the thick-end of the adjuster to travel into the tower.  The cable exits the adjuster then travels 90 degrees around a special machined acrylic rolling-shaft before joining to the pedal by means of a Venhill U-shaped fitting, bolt-on nipple-end and a rose-joint.
It needs some fine-adjustment and a brace for the tower but works a treat.  It will sound silly but as this is all of my own design (with the goal always being a smooth, long-travel pedal) I am rather pleased.
Now to try to find a very short turn-buckle or similar to act as the brace for the tower...

TC

Tuesday, 12 May 2015

Aluminium Fab-ulous-rications

The car was away for three weeks in the end. Andrew at Allisport was a bit behind with a couple of jobs and then had a significant piece of work dropped on him by one of his largest customers.  This didn't pose a big problem - I did some family stuff and even some dreaded DIY.  Plus, as one friend put it on seeing the photos, it was definitely worth the wait.  The quality of the work is amongst the best that I've ever seen.  I'm absolutely thrilled.
The biggest-ticket item by some margin is the main tank.  I'd not finished bolting it into place when I took the above photo.  It's pretty stunning - but this is not the clever/tricky bit.
You can hopefully see above and below how the fixing points have been fabricated and the way that the tank fits neatly in front of the axle.  Andrew and his guys seem to have done the unexpected i.e. taken a template that some would have laughed at and ignored and instead perfected the design without compromising the intent or the work that has been done thus far,  If you look really closely above, you can see how the Facet filter-hose-tail screws into the outlet.  It is spot-on.
The rest of the work is fantastic too.  The swirl pot reminds me of the Heineken mini-kegs that you can buy in Supermarkets.  What's not to like?
The water header tank and oil puke tank look suitably traditional to my eye too.  These all need mounting but that won't pose a problem once my new 6mm rivnut tool arrives,
Even the top-mounts for my oil cooler are a smarter design than I'd envisaged.  Of course the water pipework is first-class also.
So, if it wasn't wholly apparent already, I would not hesitate to recommend Allisport.  I would definitely use them again - and will indeed be popping-back for a couple of additions.

TC

Sunday, 19 April 2015

Getting tanked-up

At long-last the car is away having its tanks, water pipes and odds-and-sods fabricated.  
 

In all there are 9-items to be made or completed.
  1. The main fuel tank.
  2. The swirl pot housing the Yamaha pump
  3. Header tank
  4. Oil puke tank
  5. A small hard-pipe in the radiator top-hose
  6. A much more complicated hard-pipe in the bottom-hose
  7. An upper support for the oil cooler
  8. A stand-off support for the throttle cable adjuster
  9. A blanking plate/guide for the gear-change rod


And now we wait.  In the meantime I'm going to have a tidy-up.

TC